
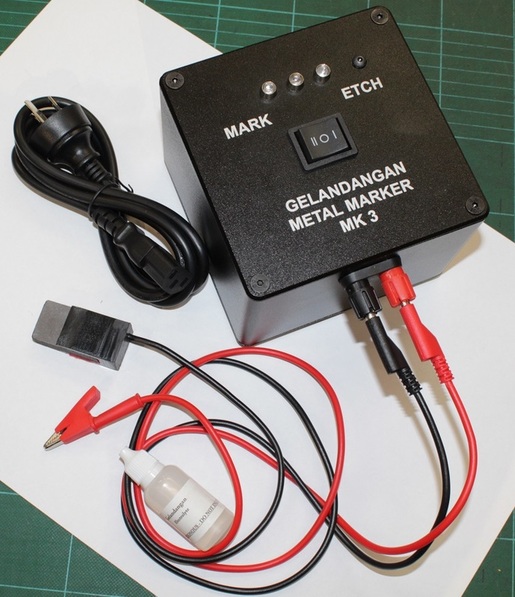
Electrochemical Etching System
Metal Marker Mk3
Metal Marker Mk3 Electroetching system is a simple machine without computer control, The user simply select either to ETCH or MARK the product being etched with a switch. There are no timer or steel specific settings for those who prefer simplistic machine.
Although the Mk3 is not a programmable etching machine, it does not lack in power!
Comparing the Mk1.2 computer controlled machine and the Mk3 is like comparing a new sedan that have all the bells and whistles, with a classic muscle car with pure horsepower!.
Mk1.2 supplies about 50 watts of etching power, where as the MK3 supplies 200 watts of etching power!!
Currently the machine only work with 240 VAC, 110 VAC machines will be available upon request at slightly higher cost.
As of May 2019, all Metal Marker MK3 has been sold out temporarily - future batch might be made in a few months.
|
|
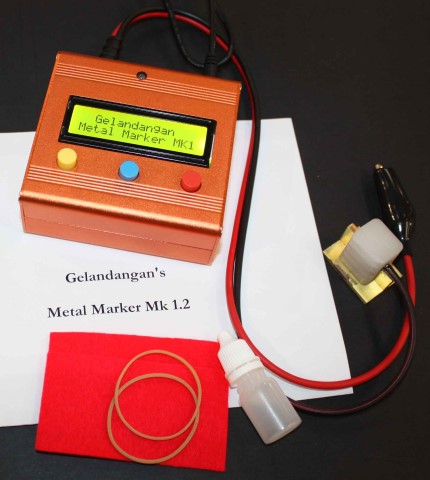
Metal MarkerCurrently this product is on revision 1.2
|
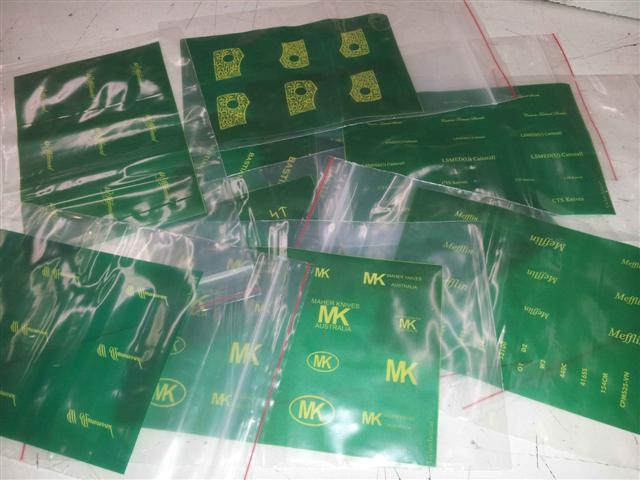
Green and Gold
|
Flash Toner Type
|
Tutorial Videos
|
Etching and Marking with Metal Marker Mk3
|
How to make your own Flash Toner Stencils
|
Electro etching tips
Here are some hints and tips gathered from questions by users of the machine
1. On cleaning of surface of metal before etching
There are different types of etch barrier, alcohol soluble for water based stuff, acetone soluble for most oil based stuff.
(eg. texta markers can easily be removed with alcohol yet resist acetone, and nail polish resist alcohol yet easily removed with acetone)
Some that have set in for a long time might need to be "soften" by soaking for a while before they can be removed.
Depending on the coating substance you should try cleaning with both.
I also regularly use wax and grease removal liquid from Bunnings.
Contrary to popular belief, acid do not clean greasy surface well, instead the best grease removal that you can make on your own is low concentrate CAUSTIC SODA Wear gloves when handling this.
2. Why doesn't it work?
Among the multitude of reason why the etching is not working are the following issues:
- Anode cable is not attached to the metal being etched, thus the circuit is not completed and no current is flowing through.
- Surface of the metal is dirty due to handling or old coating of paint, dykem blue, texta or other substances.
- The felt is too thin and thus not able to carry enough electrolyte to complete the circuit.
- Not enough electrolyte on the felt
3. Blotchy etch
- too high pressure put on the felt thus squeezed out electrolyte between the cathode and the steel
- dirty surface
- clogged stencil.. when you are etching you are REMOVING material from the surface of the metal being etched, this material will have to go somewhere - in our case they most likely go to the felt and some will be stuck to the felt. Clean the stencil regularly even while you etch will improve your result.
- Too much electrolyte on the felt - electrolyte carries electricity from the handpiece to the base metal. If you have electrolyte under the stencil naturally they will also carry electrical current to the wetted part and thus etch the area as well. Best way to stop this is to pre wet the bottom of the stencil with DISTILLED water which have very low electrical conductivity, this would slow down the flow of current, thus reduce the chance of blotching.
4. Damaged stencil.
Etching is a process that literally short circuited a current right where the etched process is. This process generates a lot of heat.
You should regularly stop and let the heat dissipate before continuing your etching. Failure to do so the heat will damage the stencil which are made of polyester.
Printer with dirty drums will leave small specks of toner dots on the paper, often these specks are too small to see by eyes, but will still be picked up when producing the Flash toner stencil, this will cause many speckles on the etch result.
Ensure that the print you use to flash is totally clean, or if possible dedicate a new printer for the job.
5. Not enough electrolyte carried on the felt.
the device rely on the felt to suspend some electrolyte between the contact and the steel being etched.
If the electrolyte carried on the felt is not enough then there will not be current transferring.
Ensure that the felt is nice and damp before starting to etch.
6. Ghosting etch
Generally this is caused by too much electrolyte on the felt or stencil is not FLAT against the etched surface.
- electrolyte carries electrical current from the handpiece to the base metal to etch. If you have electrolyte under the stencil naturally they will also carry electrical current to any part that are being wetted, and thus will etch the area as well. Best way to stop this is to pre wet the bottom of the stencil with liquid such as DISTILLED water or Cloudy ammonia which have low electrical conductivity, this would slow down the flow of current, thus reduce the chance of blotching.
